installation
Technical Manual & Installation Guide
Download a PDF version of the Technical Manual & Installation Guide here.
Installation Basics for Both Styles
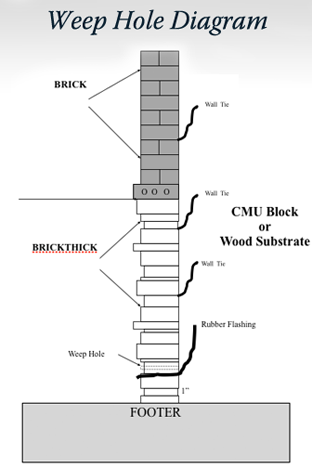
• Secure using wall ties and weep holes just like brick according to required codes in your area. (Approx. 1 tie per 2 sq.ft)
• Also like brick you must fill and compress the head joint.
• Stone should be set approx. 1/2″ from the substraight.
• It is recommended that you use a level or string a line to maintain straight clean lines.
• You may cut the stone if necessary to complete an area.
• Requires footers and ledgers.
**Follow style specific guidelines listed below for Cumberland Ledgestone Series vs. Pilgrim Series
Cumberland Ledgestone
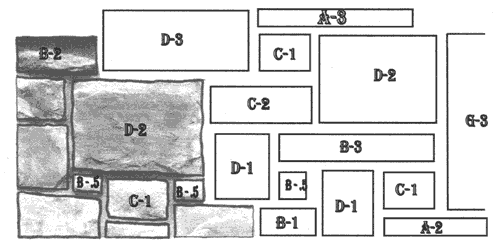
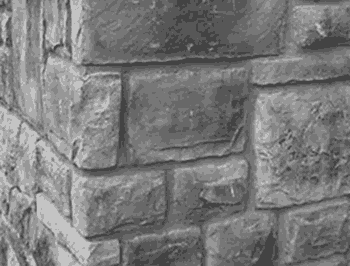
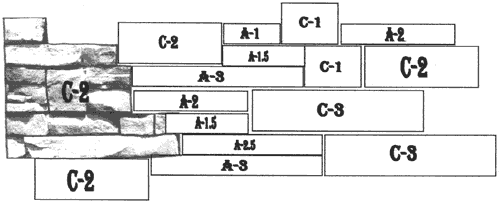
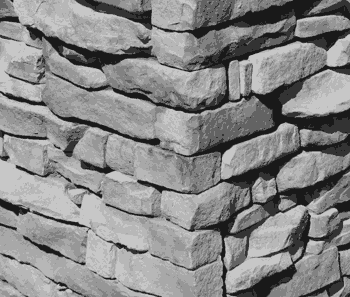
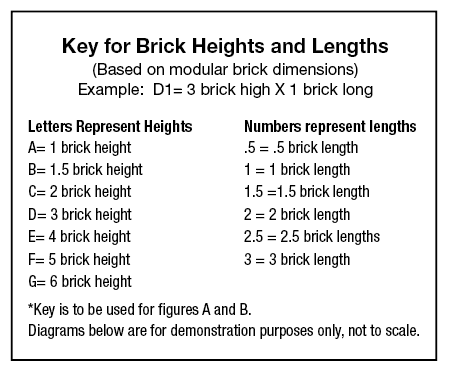
Corners exist in 60% of the mix per pallet in the Cumberland Ledgestone Brickthick®. Use corners at windows, arches, architectural breaks, and returns. Lay mortar in the pocket provided by the design to allow for a hidden mortar bed, this creates full bed masonry strength and water protection. In Cumberland Ledge Brickthick®, never lay your head joints higher than 5″ or 2 bricks tall (creating a running staggered bond). Still, make certain to break horizontal joints every 2-3 ft.
Pilgrim Series
Our Pilgrim Series can be laid right out of the box, there is no need to mix different sizes when the pattern is already established. There are two worked/chiseled edges on each stone to allow for an attractive finish on outside corners. Never have a vertical line longer than the largest stone (6 brick tall), and break vertical joints as often as possible, break horizontal joints at least 2-3 ft. Be sure to clean excess mortar with a marginal trowel and soft brush.
